Sunday, March 27, 2011

Another drastic custom Arabian!

Yes, I've made another drastic CM. I can't help it--they're such a fun thing to work on in between commissions! This one started out as a Breyer Smoky. I've put up a page with many (lots and lots of) photos at http://maggiebennett.com/gallery/maysa.htm, and her eBay auction is also up this week at http://cgi.ebay.com/ws/eBayISAPI.dll?ViewItem&item=120704199143

Here you can see how drastic she is--the purple is Apoxie Sculpt and the white is carved-down plastic. This picture was taken before final detailing, and of course before she was primed and painted. I like to wait as long as possible before priming, to avoid having Apoxie-primer-Apoxie-primer layers. It seem like they will have better longevity when there are fewer interfaces between dissimilar materials.


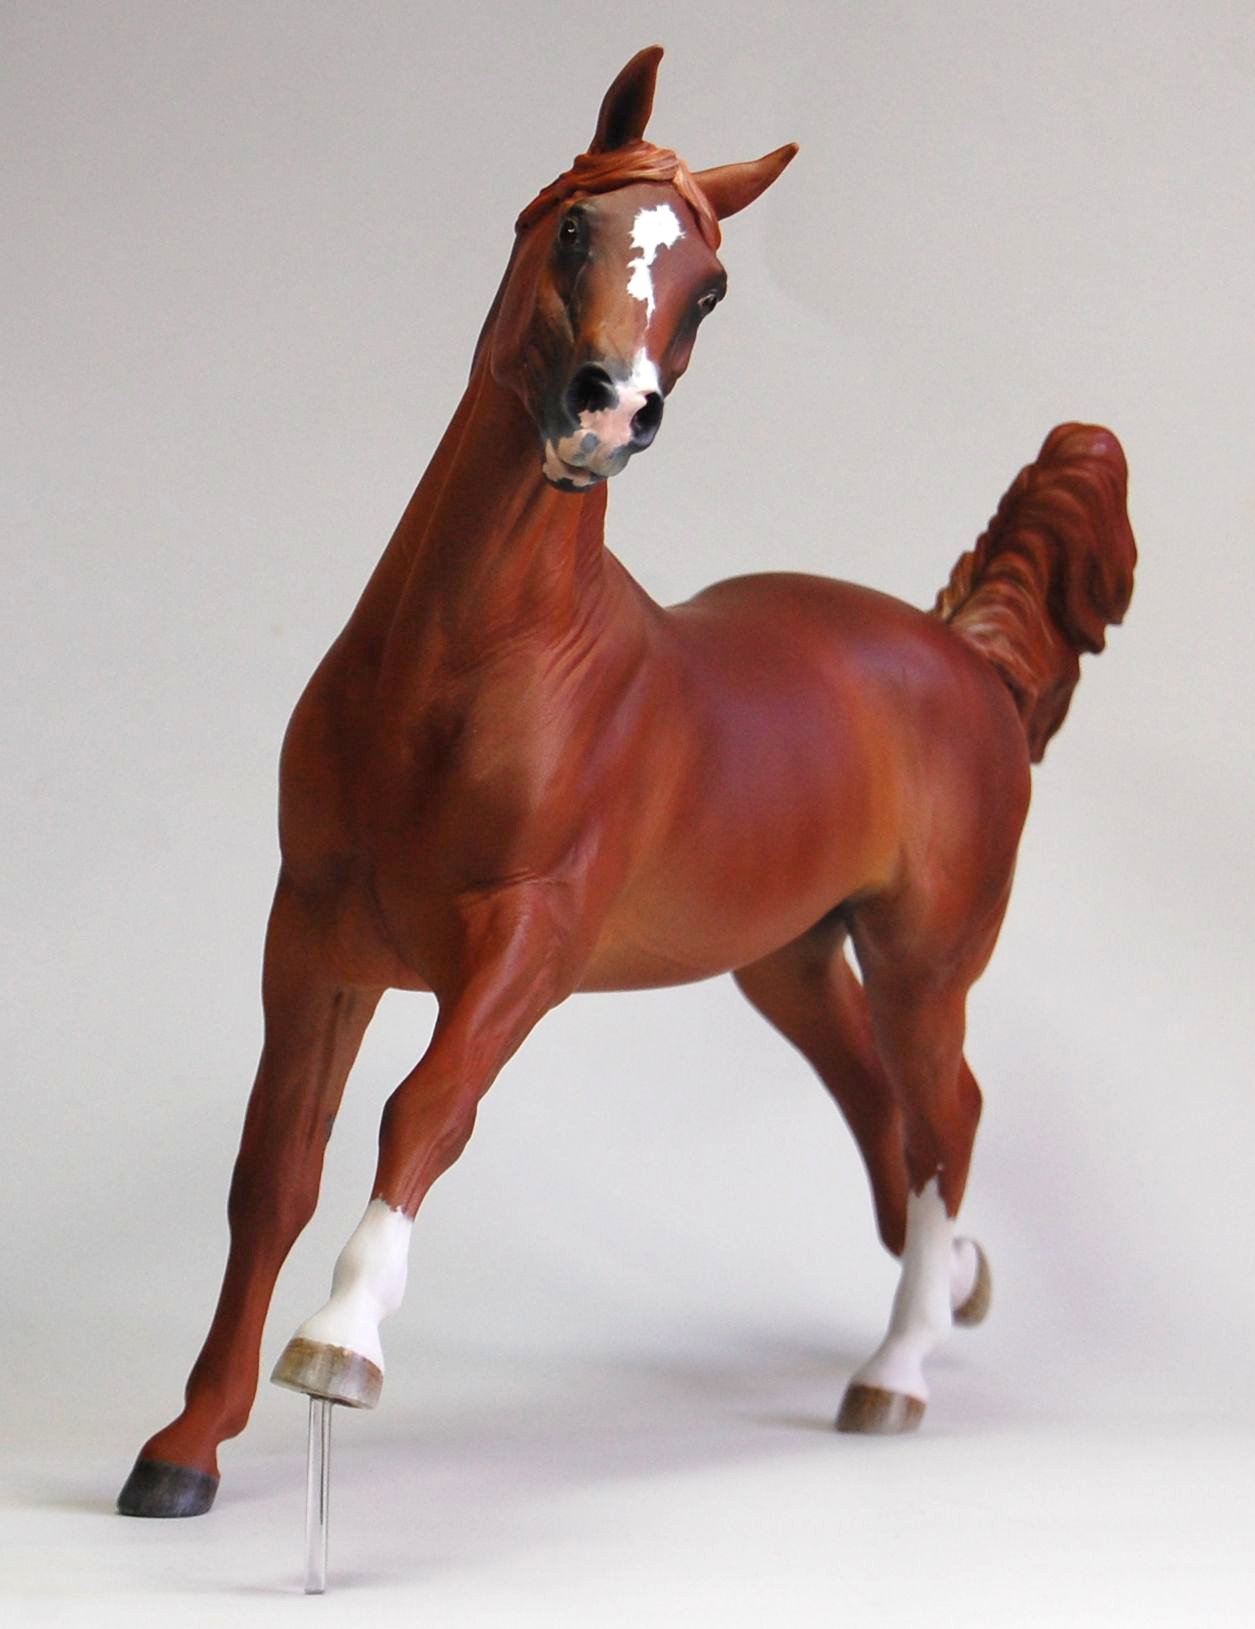
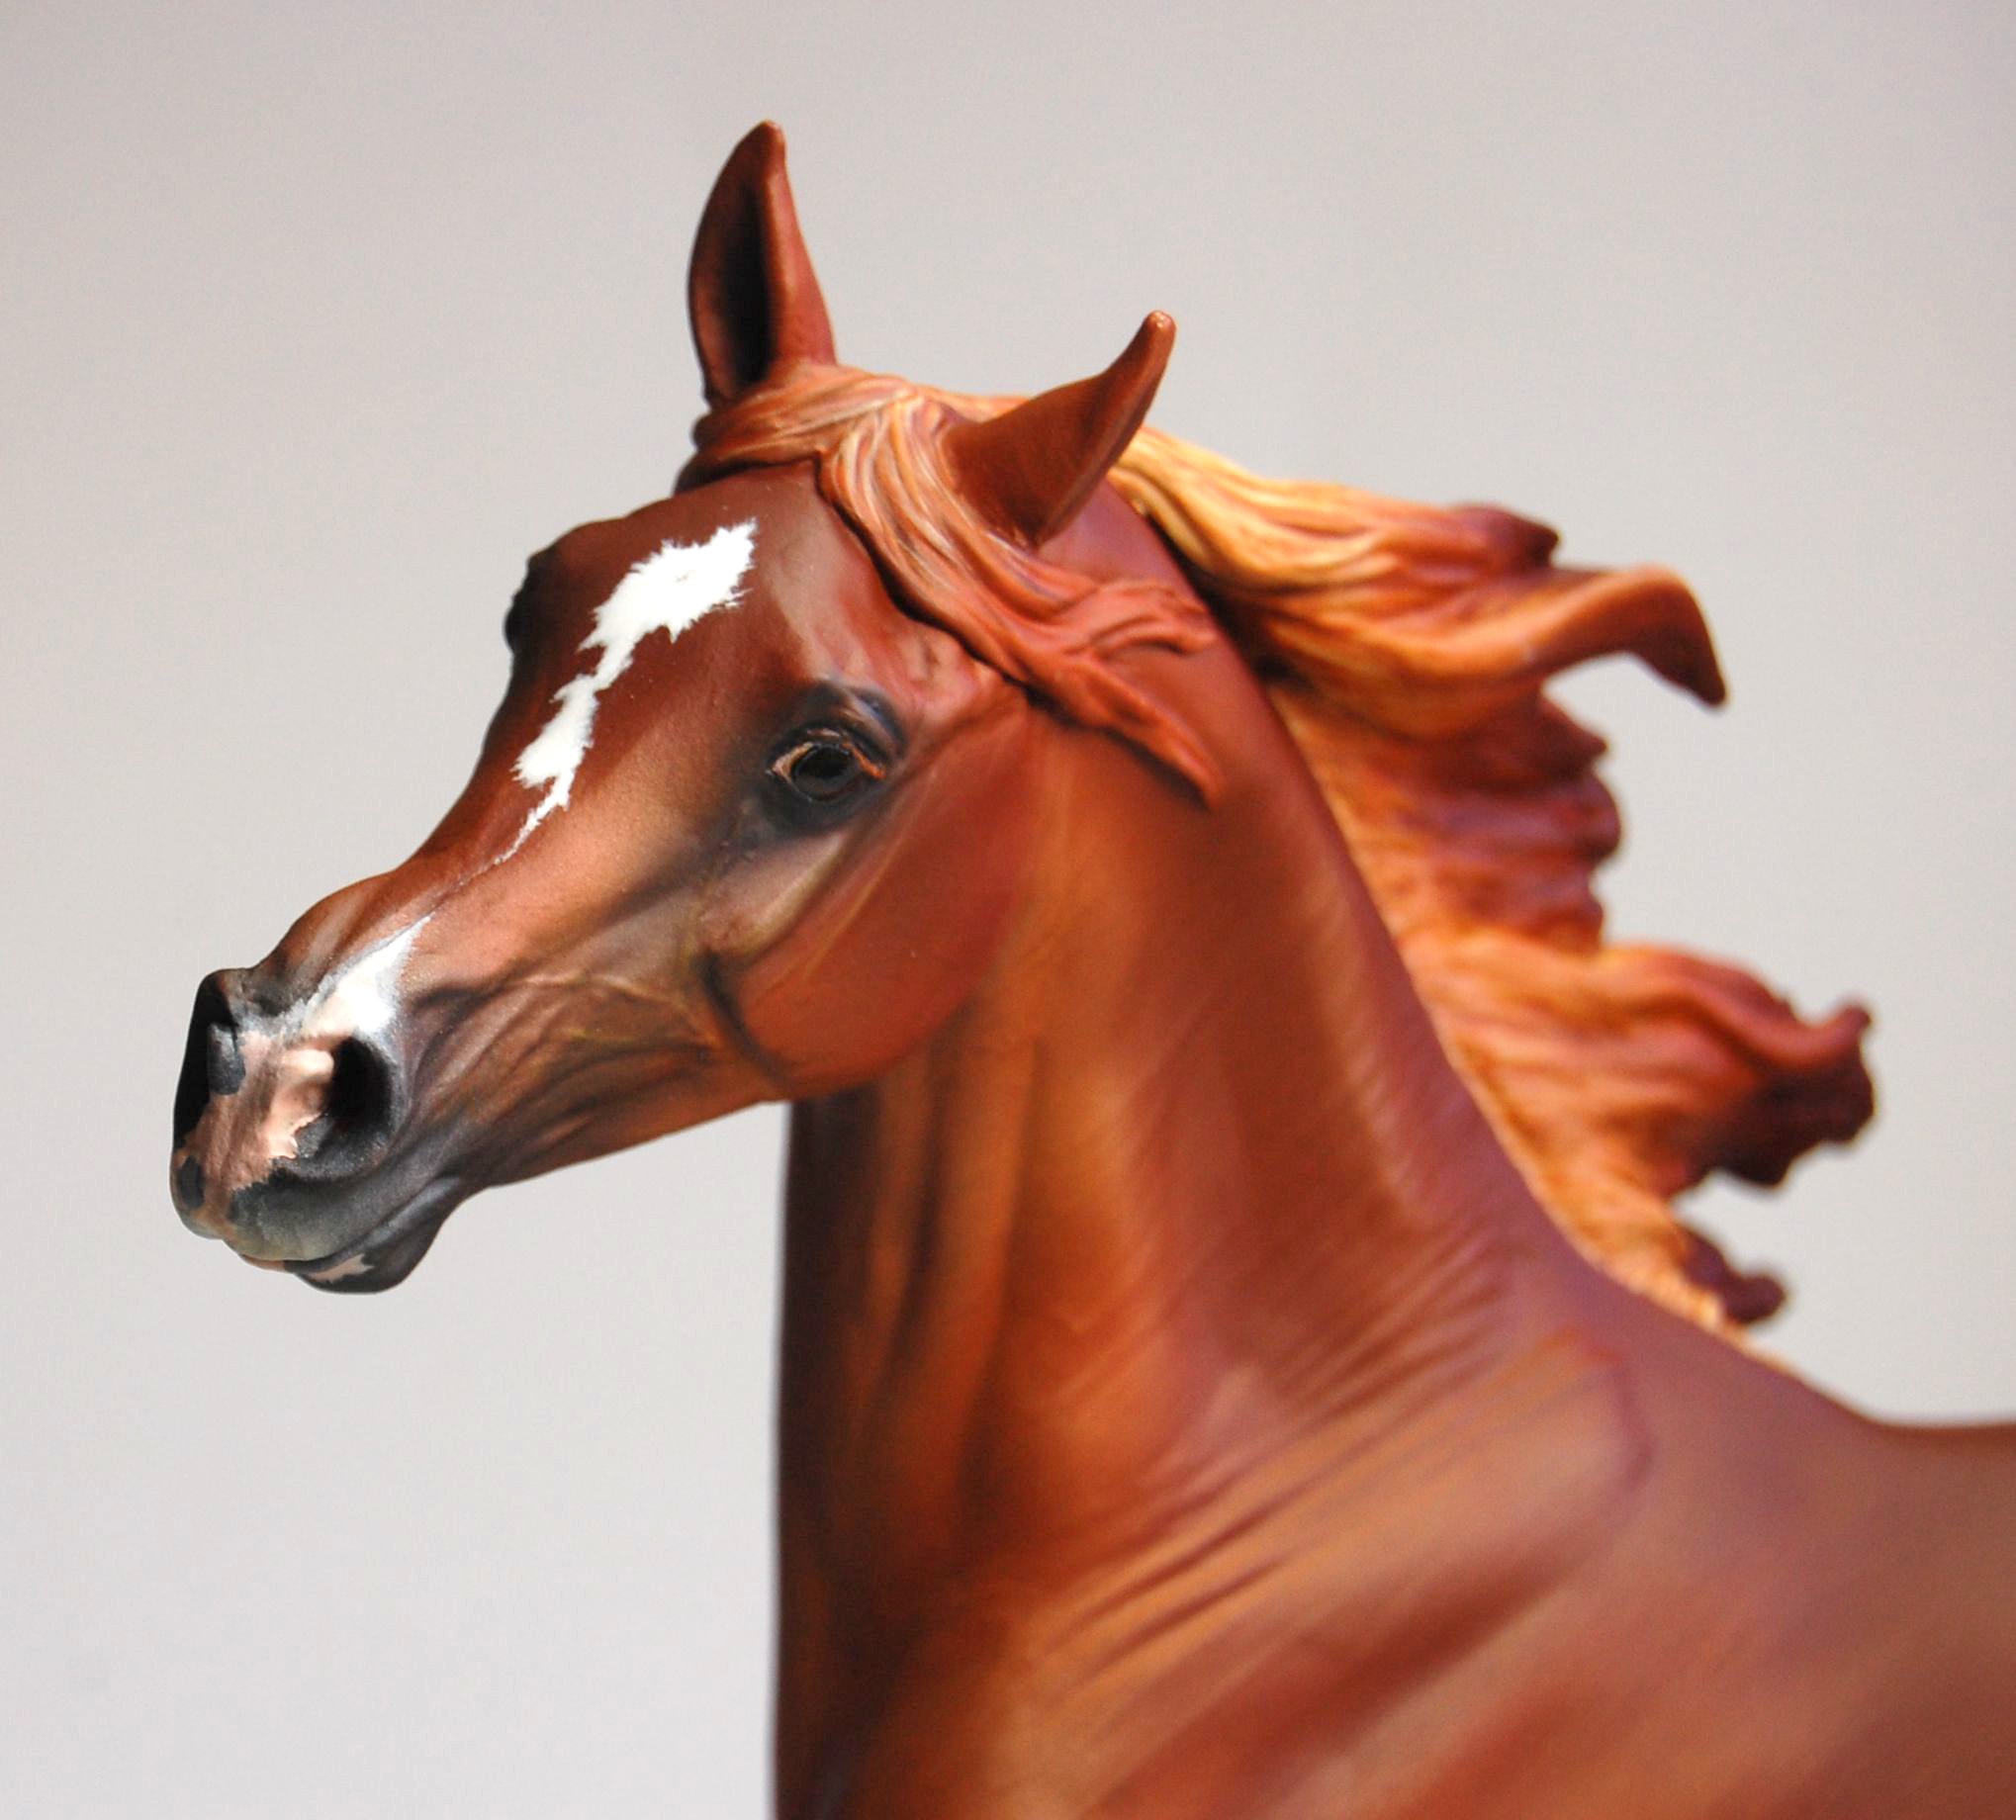
Longevity is always something to keep in mind with customs. I don't think anyone is honestly sure how well they'll hold up over the course of tens or hundreds to years, but I do know there are certain things we can do to help them last. Some, such as maintaining them in a climate-controlled environment as much as possible and avoiding sudden temperature extremes are the responsibility of the collector. But others are the responsibility of the artist! These include things like roughing up plastic areas before applying epoxy to them, so that the epoxy is able to make a firm bond, and drilling a small air hole to reduce the possibility of bloating if the piece is exposed to high temperatures. I have heard that customs in which these few simple guidelines have been followed are much more likely to hold up and bring joy for many years to come!


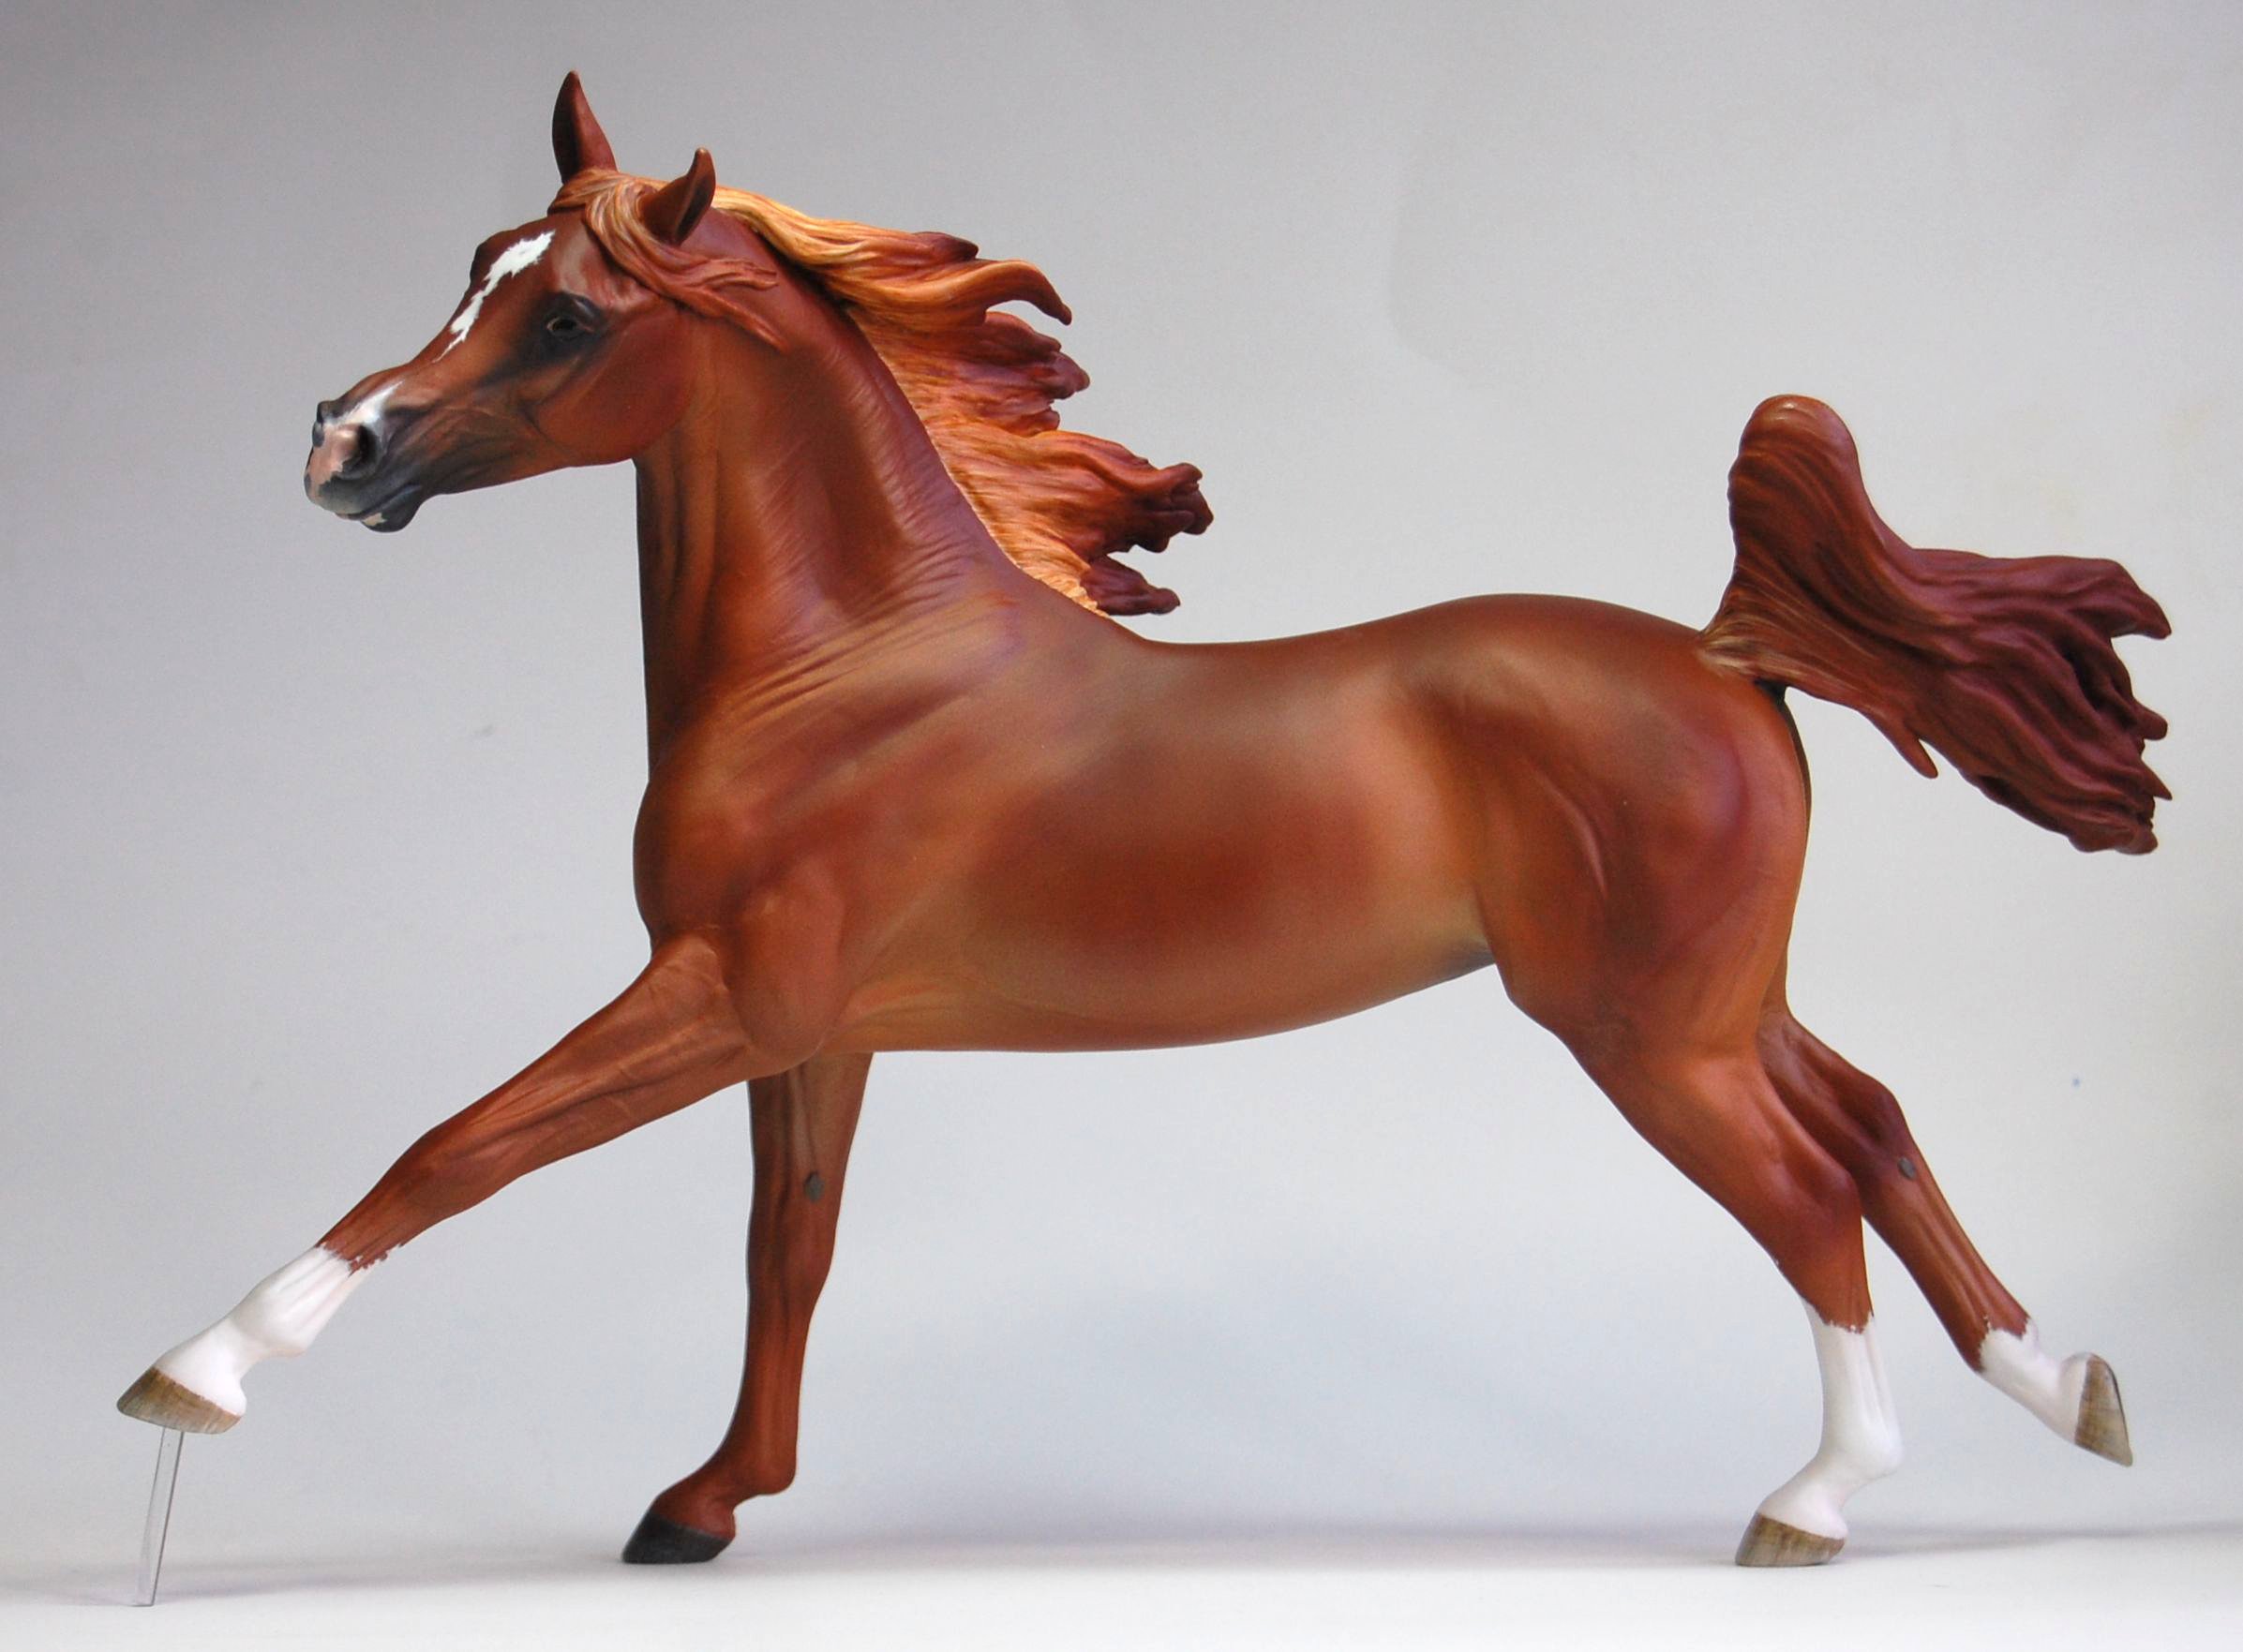
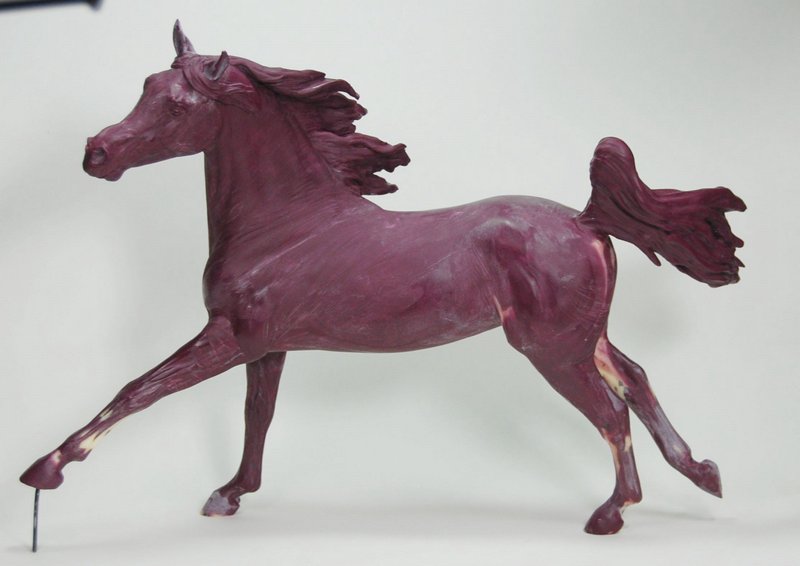
In Maysa's case, I scratched up the plastic all over the original (after I repositioned him) with an Exacto knife, making hatchmarks and deep scratches to give good adhesion. Her air hole is tucked discretely in her groin--much less noticeable than the corner of the mouth or the nostril, where many original finish plastics have their hole!

Monday, March 7, 2011

Smooth whites

Unfortunately, I don't have any magic tricks for getting nice, smooth, even white markings when painting. As far as I know, there isn't a trick to it beyond lots and lots of very thin layers to eliminate brushstrokes. I do like to seal the entire horse very well with Dull Cote, then airbrush in a thin (not fully opaque) layer of white over the markings, then clean the edges up using a bit of water, airbrush cleaner, or Windex on a q-tip or toothpick, but it's still a tedious process. I always want to rush it and then have to go back and fix things that I messed up in my rushing!

So, I'm sorry this is not a time-saver! It seems like there's no way around it if you want lovely smooth white markings!